So you’re trying to take a screenshot on your Asus laptop or computer, but you can’t figure out how? Well, if that’s the case this article will be really helpful for you.
Today we’ll be discussing all the ways you can take a screenshot on your Asus laptop/desktop computer.
Contents
How to Take a Screenshot on Asus Laptop?
Screenshots have become essential in this day and age. Whether it’s to capture a meme that you came across on social media or capture a conversation with a friend on Discord, either way, screenshots can make your life easier!
Taking screenshots on an Asus laptop is extremely simple, and there’s a bunch of different methods you can use to take screenshots on an Asus Laptop. Today we’ll be discussing these various methods & the various operating systems that support them.
But before we get into the ways to take screenshots, here’s a list of the compatible Asus laptops you can take screenshots on:
- ZenBook
- VivoBook
- ASUSPRO
- ExpertBook
- ProArt StudioBook
- TUF Gaming
- Republic Of Gamers (ROG Gaming)
- EeeBook
- A Series
- B Series
- E Series
- F Series
- K Series
- N Series
- Q Series
- T Series
- U Series
- V Series
- X Series
If you have any of these Asus laptop models, the methods mentioned below will surely work for you. If your Asus laptop model is not in the above list, you can still try the screenshot methods, but your results may vary.
If you don’t have an Asus laptop, you can still try the below methods, because most of these methods are dependent on the operating system, chances are they will work for any other laptop model as well.
Continue to read if your laptop is running any of these operating systems:
- Windows 7
- Windows 8
- Windows 8.1
- Windows 10
- Ubuntu/Linux (skip to FAQ section)
9 Methods to take a screenshot on an Asus Laptop or Computer
Without further ado, here are the easiest and most common ways to take a screenshot on your Asus laptop or Computer:
1. Take Free Form Screenshots with the Snipping Tool
In Windows 7 and above, Microsoft added a tool dedicated to taking screenshots. The snipping tool has 4 different modes for screenshots.
- Free Form Screenshots
- Rectangular Screenshots
- Active Window Screenshot
- Full-Screen Screenshot
The most unique thing about this tool is that it lets you easily take free form screenshots.
What this means is you can draw a rough shape and the tool will capture the contents inside the shape.
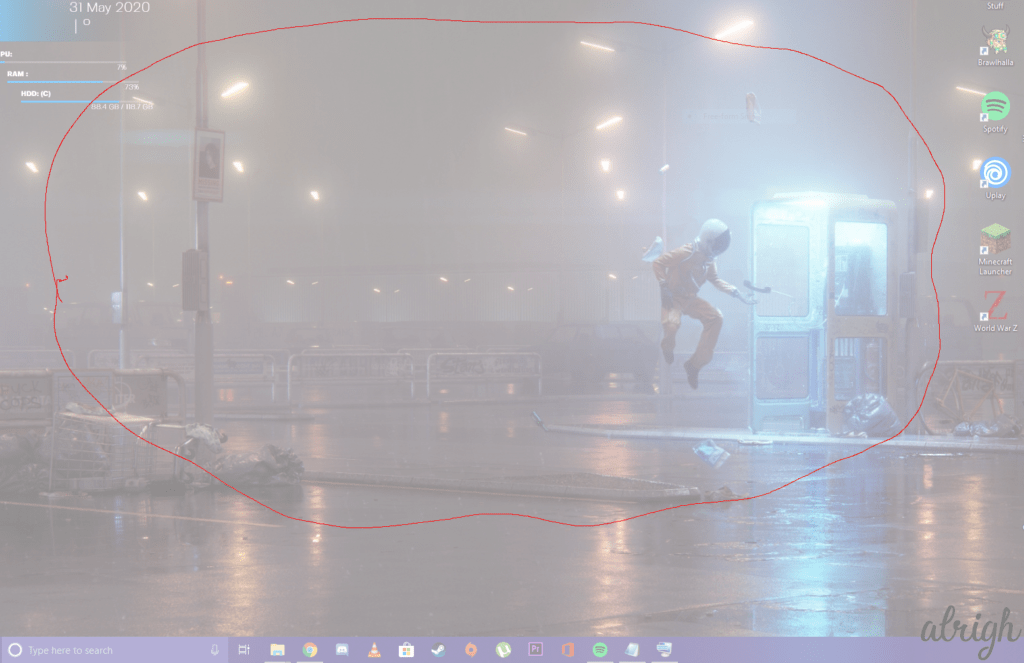
This can be very useful if what you’re trying to capture isn’t a rectangle.
2. Take Screenshots of the entire screen with PrtScn
The easiest way to take a screenshot is with the PrtScn key present on your keyboard.
This method works for Windows 7 and above.
When you press the PrtScn key Windows will save the screenshot to your clipboard. You can then paste the screenshot into MS Paint or any other graphics software and save it manually.
Follow these steps:
- Press the Prt Scn Key.
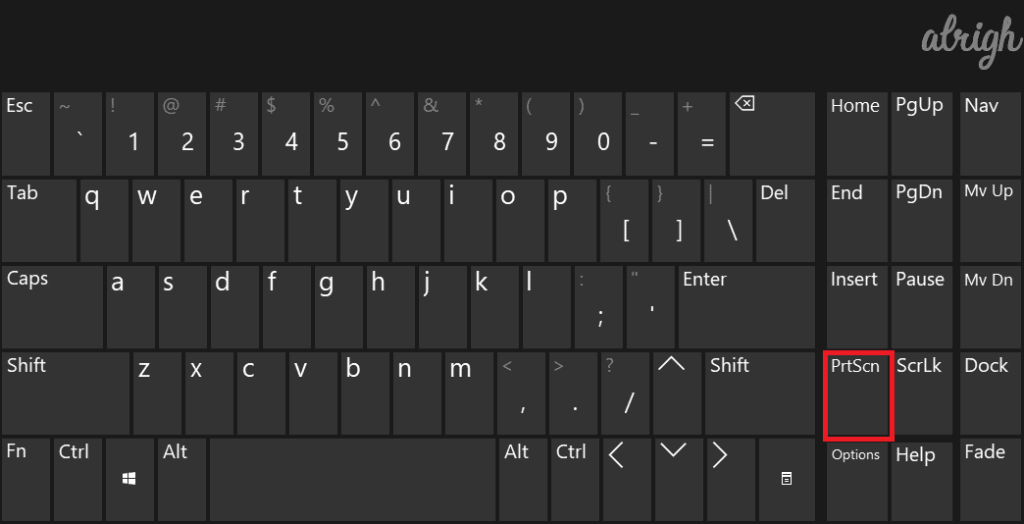
- Open MS Paint (or any other graphics software).
- Press Ctrl + V to paste the screenshot.
- Here you can edit the screenshot as you please and then save it wherever you want.
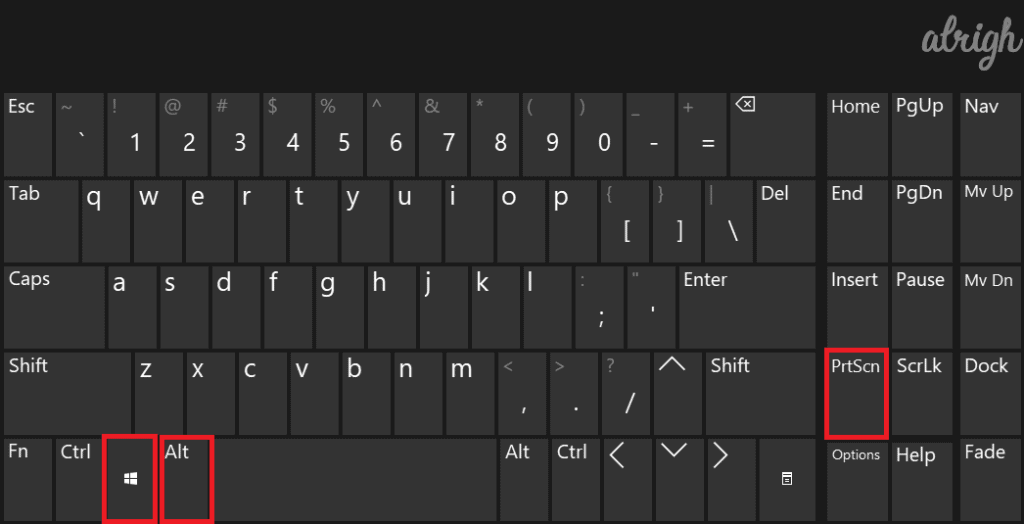
3. Take Screenshots of the Active Window with Alt + PrtScn
Instead of taking a screenshot of the entire screen, you can just capture the active window on your Asus laptop.
Doing so is as easy as taking a screenshot of the entire window, but instead of the normal PrtScn command, you have to use the command Alt + PrtScn.
When you press Alt + PrtScn, Windows will save your screenshot in the clipboard. You will then have to paste the screenshot to MS Paint (or any other graphics software) and save the screenshot manually.
Follow these steps to take screenshots of the active window with Alt + PrtScn on your Asus laptop:
- Hover to the window you want to screenshot and click on it.
- Press the Alt + PrtScn.
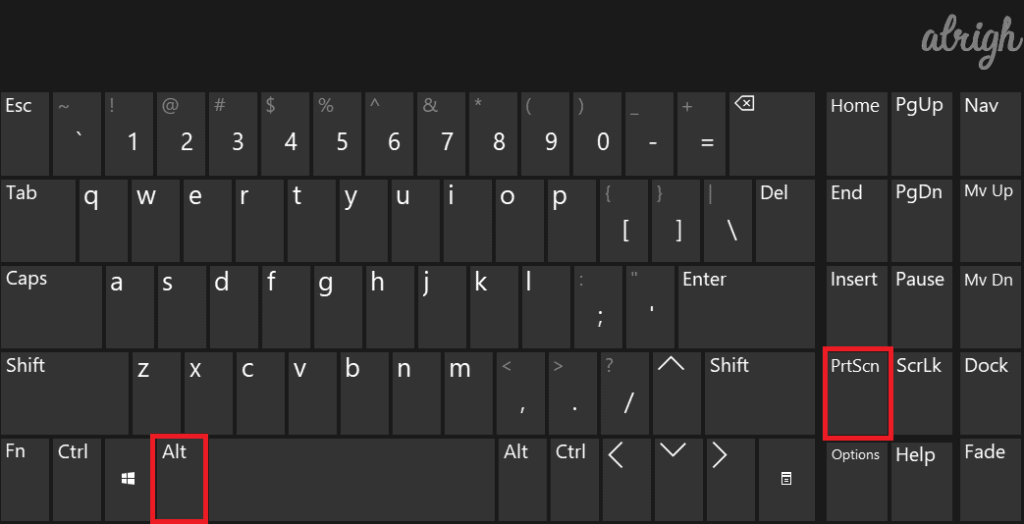
- Open MS Paint (or any other graphics software).
- Press Ctrl + V to paste the screenshot.
- Here you can edit the screenshot as you please and then save it wherever you want.
4. Take Screenshots & save them Directly without MS Paint (Windows 10/8/8.1)
I know it sounds rather annoying to have to manually save every screenshot you take. But don’t worry, in Windows 10 Microsoft has made it much easier to take screenshots. You can take screenshots and save them directly to your Asus laptop/desktop.
There are two ways you can do this.
- Win + PrtScn (Windows 10/8/8.1)
- Microsoft OneDrive (Windows 10)
The first method is quite easy, follow these steps:
- Press Win + PrtScn instead of the normal PrtScn command.
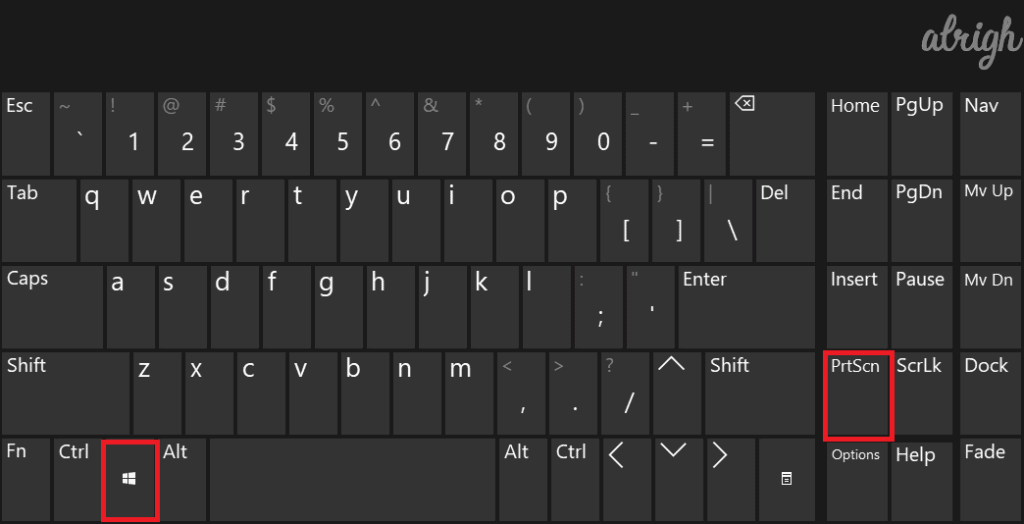
- When you press Win + PrtScn your screen will turn dim for half a second, indicating a screenshot has been taken.
- The screenshot will be saved under C:\Users\User\Pictures\Screenshots
The second method requires you to set up OneDrive so that any screenshots taken with the normal PrtScn command will be directly saved to OneDrive.
For this method to work you’ll have to give OneDrive permission to automatically save screenshots.
Follow these steps to allow OneDrive to save screenshots.
- Click on the OneDrive icon at the bottom right on the Taskbar.
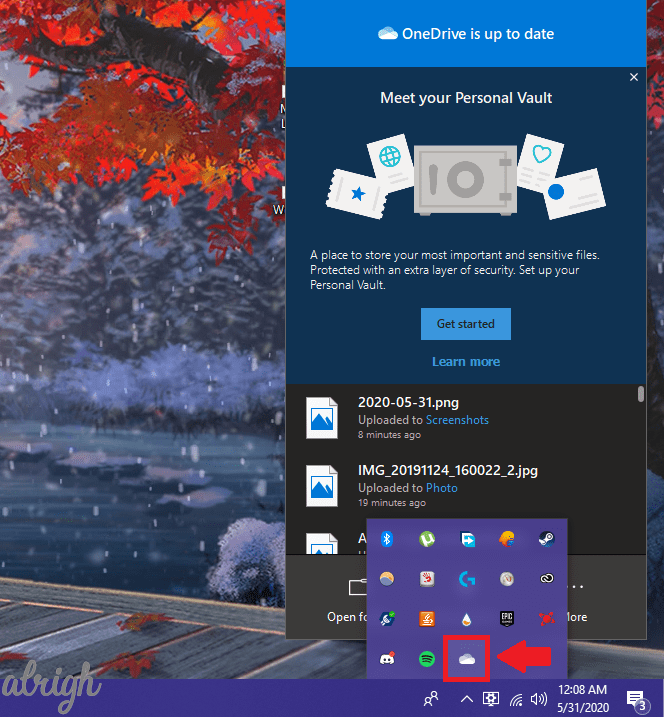
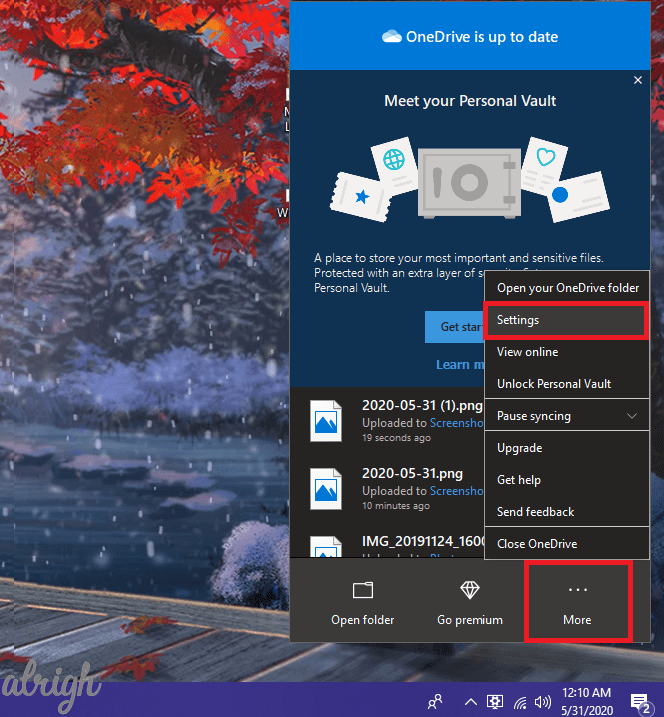
- Click on More and then click on Settings.
- In the BackUp Tab, click on Automatically Save Screenshots I capture to OneDrive.
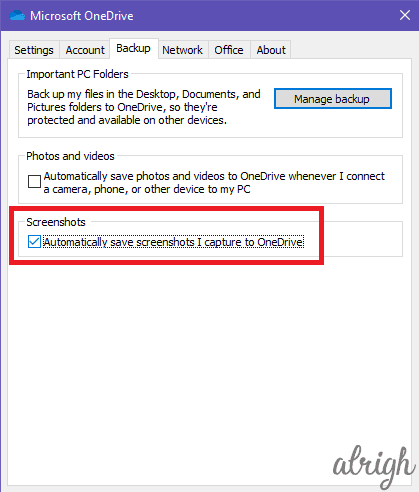
- This will allow OneDrive to save screenshots directly onto the drive.
Now simply press the PrtScn key to take screenshots and save them directly on to OneDrive.
You can also press Alt + PrtScn to take a screenshot of the active window on your Asus laptop/desktop and save it directly on to OneDrive.
The Screenshots will be found under C:\Users\User\OneDrive\Pictures\Screenshots
5. Taking Screenshots of the active Window with the Xbox Game Bar (Windows 10)
Instead of using MS paint or the OneDrive to save screenshots, you can use the Xbox game bar to take and save screenshots of the active window directly to your Asus laptop.
Follow these steps to take a screenshot on your Asus laptop/computer with the Xbox Game bar:
- Hover to the window you want to screenshot and click it.
- Press Win + Alt + PrtScn
- The Xbox game bar will notify you that the screenshot has been saved.
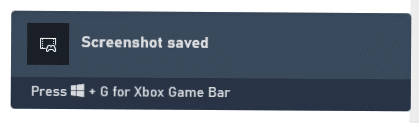
You can then view the screenshot at C:\Users\User\Videos\Captures
6. Taking Free Form Screenshots with Windows Snip & Sketch
The Snip & Sketch tool is the newest way to take screenshots on Windows 10. Microsoft only recently added this tool, and it will soon completely replace the snipping tool.
The Snip & Sketch tool can be accessed with the shortcut Win + Shift + S.
And similar to the snipping tool it has these 4 screenshot modes:
- Free Form Screenshots
- Rectangular Screenshots
- Active Window Screenshot
- Full-Screen Screenshot
Microsoft has already made it official that the snipping tool will be replaced with the Snip & Sketch tool in a future update. I think this is great because the snip & sketch tool is easier to access because of its keyboard shortcut.
The free form mode in this tool makes it exceptionally easy to take screenshots of content that isn’t a rectangle.
7. Taking Screenshots on Asus Windows Tablet
If you own a Windows tablet, it could be more convenient to use this method instead of attaching a keyboard and trying any of the previous methods.
To take a screenshot on your Asus Windows tablet, you can simply press the Windows button on the tablet + the volume down key.
Pressing these buttons together should take a screenshot of the entire screen. If that doesn’t work for you, you can still use the Snip & Sketch tool (Windows 10).
8. Taking Screenshots with third-party applications
You can use various third-party applications to take screenshots on your Asus laptop/desktop.
Here are some of the famous third-party screenshot applications you can use:
i. Taking Screenshots with Lightshot
Lightshot is a famous screenshot app for Windows, Ubuntu & Mac. You can use it on your Asus laptop to easily take screenshots.
Lightshot lets you select an area you want to capture as a screenshot. You can save the screenshot as JPEG, PNG, or BMP.
Lightshot lets you edit your screenshots directly from the app, so if your work requires taking a bunch of screenshots, I recommend you give it a go.
ii. Taking Screenshots with TechSmith Capture (Jing)
The TechSmith Capture (formerly known as Jing) is a modern-looking screen capture software. Not only does it allow you to take screenshots on your Asus laptop, but it also lets you record your screen.
You can use Shift + F11 to trigger the TechSmith Capture. Once you select a part of the screen, the program will ask you if you want to capture it as a screenshot or record it as a video.
If you capture as a screenshot, you’ll get the option to edit the screenshot. Here are some of the things you’ll be able to do:
- Add arrows
- Add text
- Add rectangles
- Highlight content
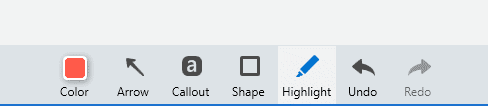
Unfortunately, the TechSmith Capture only lets you save screenshots as PNGs.
9. Taking Screenshots with Extensions on Browsers
When dealing with web pages, it’s a smart idea to use browser extensions to take screenshots instead of the built-in Windows commands.
This is because browser extensions allow you to take a long screenshot of the entire webpage, and this way you won’t have to take multiple screenshots if you want to capture the whole webpage.
I’ve compiled a list of the best screenshot extension for each popular web browser.
For Google Chrome
“Full Page Screen Capture“ is the best chrome extension for taking screenshots of entire webpages. It’s easy to use and only requires a few clicks.
For Firefox
If you’re a Firefox user, “Full Web Page Screenshots (♥♥♥♥♥)” is for you! As the name suggests, this extension lets you take full web page screenshots with ease.
For Microsoft Edge
“Screenshot” is an extension in the Microsoft Store that lets you take full webpage screenshots in Microsoft Edge.
For Opera
“Nimbus Screen Capture” is an easy to use add-on for Opera. The extension lets you take full webpage screenshots, and also edit them before saving.
FAQ – Taking Screenshots on Asus Laptops/Computers
How to take a screenshot on Asus Laptop/Desktop in Ubuntu?
If your Asus laptop/desktop is running Ubuntu (or any other Linux distribution) you can use these steps to take a screenshot:
- Press the PrtScn key.
- A window will open asking you where you want to save the screenshot
- Select a location and then click on Save.
Do the same steps work on an Asus Chromebook laptop?
No. Since Chromebooks don’t run Windows or Linux, the methods mentioned above don’t apply to them.
Here is how you can take a screenshot on an Asus Chromebook.
Note: Show Windows key is found in the top row of the Chromebook keyboard. It looks like a rectangle with 2 parallel lines to the right.
- For entire screen: Press Ctrl + Show Windows key.
- For an area of the screen: Press Shift + Ctrl + Show Windows key.
How do I take a screenshot without the printscreen button?
As mentioned above, you can use these methods to take screenshots without the PrtScn button on your Asus laptop/desktop:
- Snipping Tool
- Snip & Sketch Tool
- Third-party Screenshot Tools
Conclusion:
I hope this article helped you learn how you can take screenshots on your Asus laptop/desktop.
One thing you should keep in mind is that most of these methods are specific to the operating system you’re running and not the model/brand of your PC. What that means is most of the above methods will work on most Windows PCs.
Let us know if missed any screenshot method.