Got an HP laptop and puzzled over taking a screenshot? If you nodded your head, look no further. You have come to the right place! If you are finding it difficult to take a screenshot on an HP laptop, worry not, because it’s an easy process. Here we will take you through all the methods to help you capture screenshots easily.
Contents
How to take a screenshot on an HP laptop?
No matter for what purpose you use your laptop, somewhere down the line, you will need screenshots.
Also referred to as Screengrabs or screencaps, screenshots enable you to capture the image of your screen. Whether you want to use them for business purpose or personal use, screenshots prove extremely handy all the time. They allow you to share and save information in its exact form. Especially, in corporate life, they can have innumerous uses. Moreover, screenshots are the easiest way to share information that’s displayed on your screen.
In this article, we will explore different ways to take a screenshot on an HP computer. The methods covered in this tutorial should work for all HP models with Windows 7, Windows 8, and Windows 10 operating systems but below are some of the models we have tested it on (or have received test reports from our readers).
- HP Spectre Folio
- HP Chromebook 14
- HP Spectre x360 15
- HP Spectre Folio
- HP Envy 13
- HP Pavilion
- HP Omen
- HP Envy
- HP EliteBook x360
- HP Omen X
- HP Elite Dragonfly
How to screenshot on HP laptop or desktop?
Taking a screenshot on HP laptops is very easy since most of them run on Windows. To take a screenshot follow the steps below:
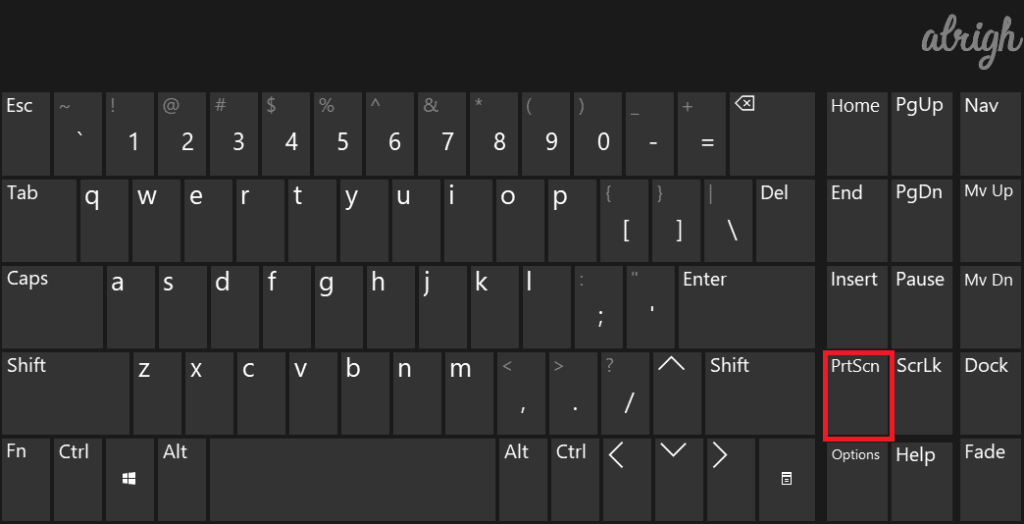
- Tap the PrtScn (Print Screen) or CTRL + PrtScn key on your keyboard. Windows captures an image of your screen and saves it in the clipboard.
- Open an image editing program (Something like Microsoft Paint or Photoshop).
- Now use CTRL + V to paste the screenshot from your clipboard into the application.
- Post this, you can edit and save the screenshot.
This is how you can take a screenshot of your screen easily with a few key presses.
Tips for taking a screenshot using the print screen on an HP laptop
Tip 1: To save a screenshot, you can simply access Paint application on your Windows computer. Paint is sufficient for making small edits but for more features, it is advisable to use professional image editing programs like GIMP or Adobe Photoshop. These programs may not be as simple as Paint but they offer you more sophisticated image editing options. Also, when saving screenshot in Paint remember to save them as PNG, Jpeg, or any other image formats suitable for your need.
Tip 2: Some image editing programs allow you to immediately save & edit images. For instance, Adobe Photoshop has dedicated menu options like File > New to paste the screenshot from your clipboard. This ensures easy editing of your screenshot right after capturing it.
How to take a screenshot of a single window?
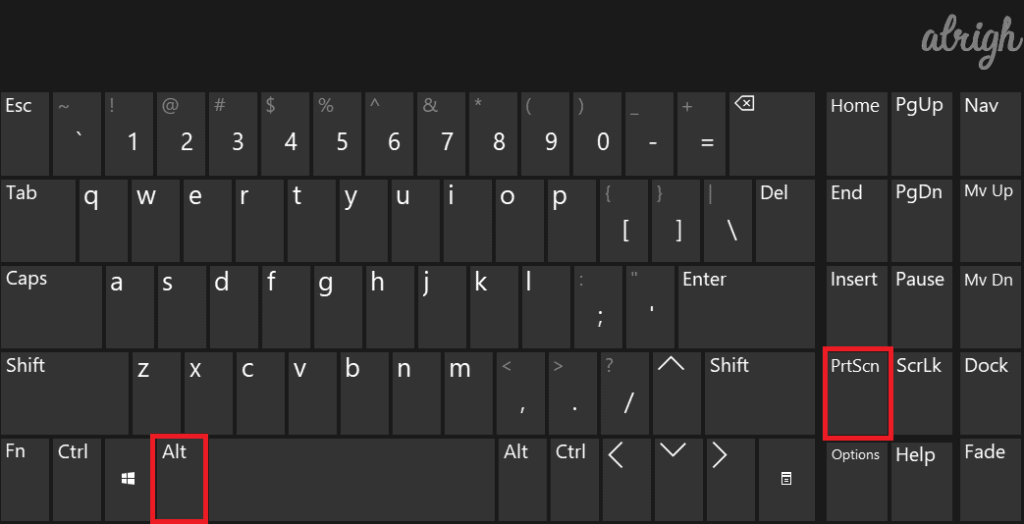
If you want to hide the details of other windows and only take a screenshot of the active window (the window currently in use), you may use the following process.
- Open the window you wish to capture.
- Press Alt + PrtScn on your keyboard. The screenshot is then saved to your clipboard.
- Open Paint or any other photo editing tool and paste the image over there.
How to take and directly save the screenshot as a file?
Capturing screenshots on Windows 8 and Windows 10 operating systems is very easy. Without having to use any photo editing programs like Paint or Adobe Photoshop, you can directly save screenshots to your hard drive as images.
- Press Windows Key in combination with PrtScn (Print Screen) key on your keyboard.
- This will dim your screen for a moment while the screenshot is being taken & saved.
- Open File Explorer or press Windows + E, and then access This PC > Pictures > Screenshots. You can find your screenshot directly saved here.
How to screenshot on an HP laptop using snipping tools?
Using the snipping tool is one of the most effective ways to capture a screenshot. It lets you capture screenshots without having to use your keyboard. If your Print Screen key is broken Snipping Tool can help you get work done. Moreover, there are numerous other ways and possibilities to create screengrabs using snipping tools. The integrated features of these tools save a lot of time as they are capable to capture screenshots of any shape and size.
Print screen with Microsoft’s Snipping Tool or Snip & Sketch App
For HP laptop or desktop users, Microsoft’s Snipping Tool comes in very handy. It is a built-in screenshot utility available for Windows Vista and all later versions including Windows 7 and Windows 8. However, for Windows 10, Microsoft introduced a new tool known as Snip & Sketch.
Apart from capturing screenshots for free-form areas, rectangular areas, or for the complete screen, the Snip & Sketch integrates a window snip option. Rather than taking a screenshot of the full window it can capture your browser window and can also introduce a delay of up to 10 seconds.
To use the Microsoft Snip & Sketch app, follow the below steps:
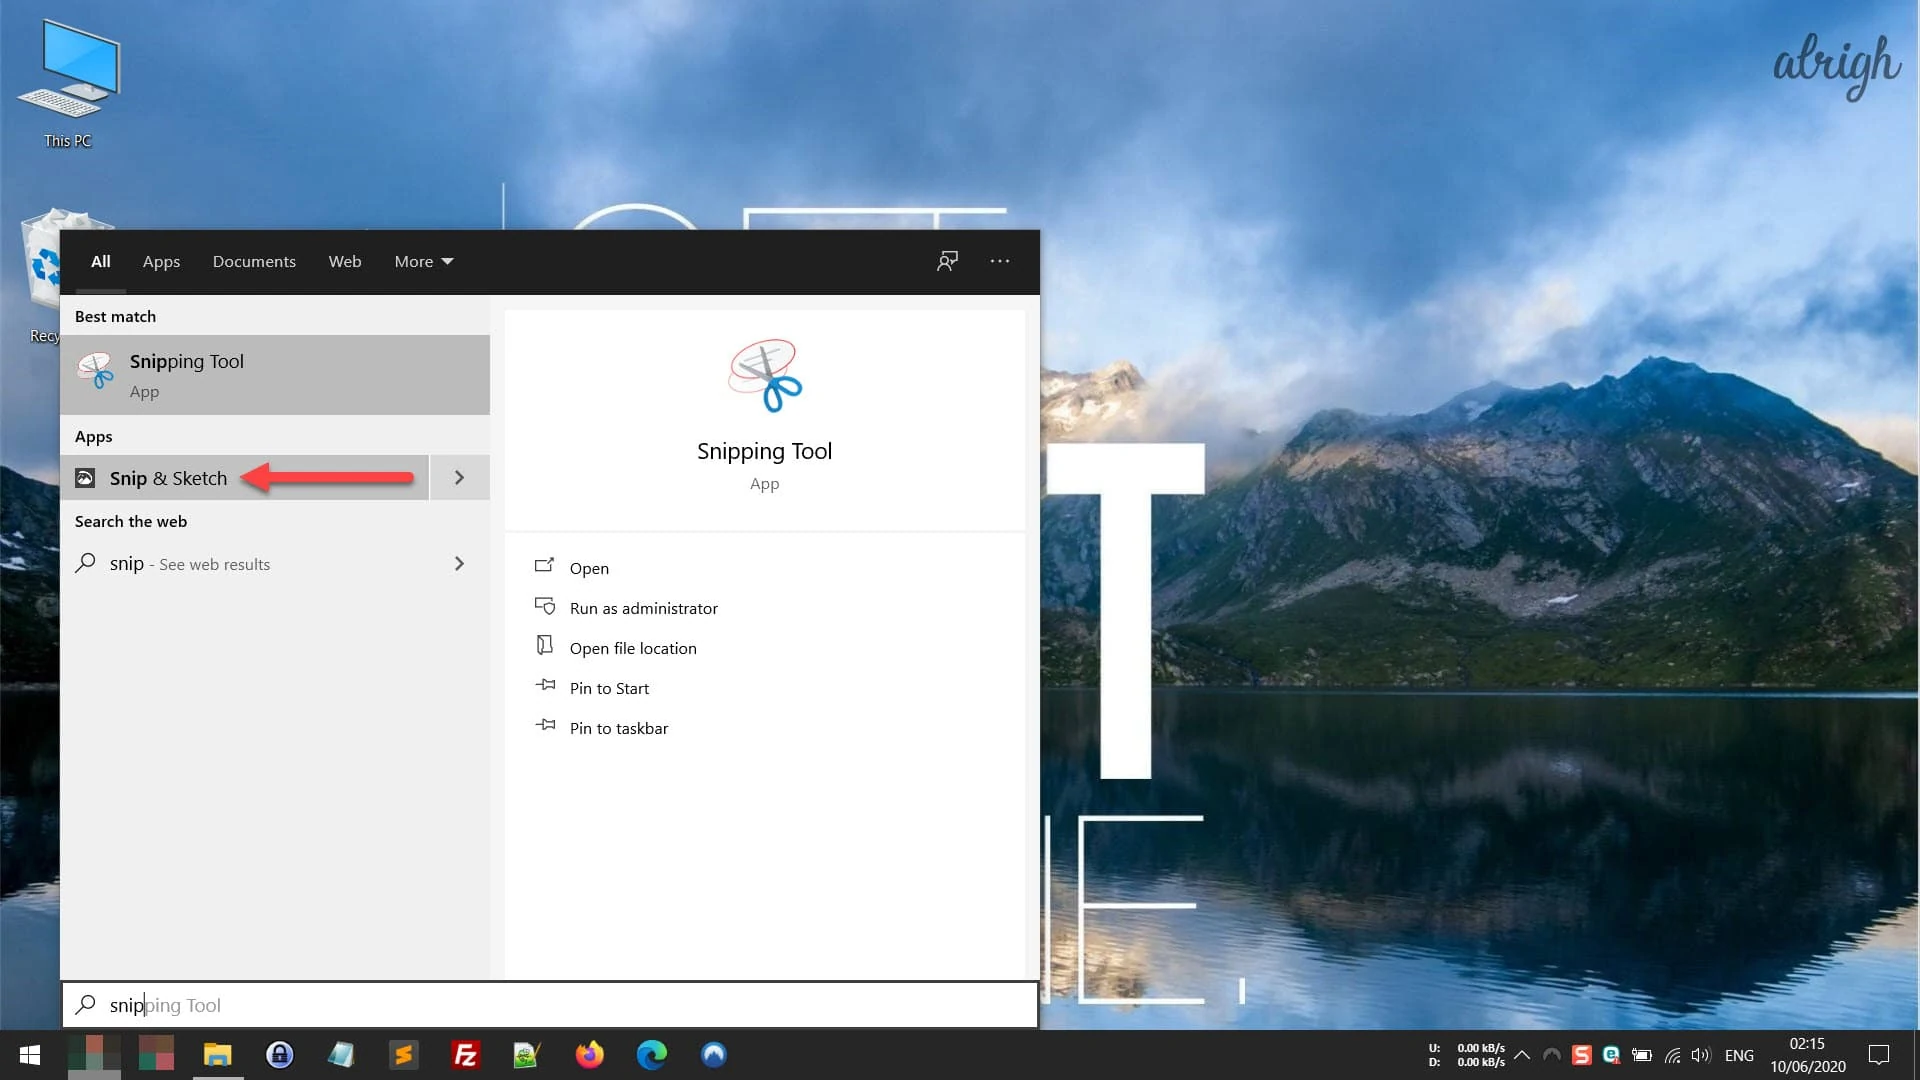
- Tap on the Windows button on your keyboard.
- Search for Snip & Sketch, and click to open it.
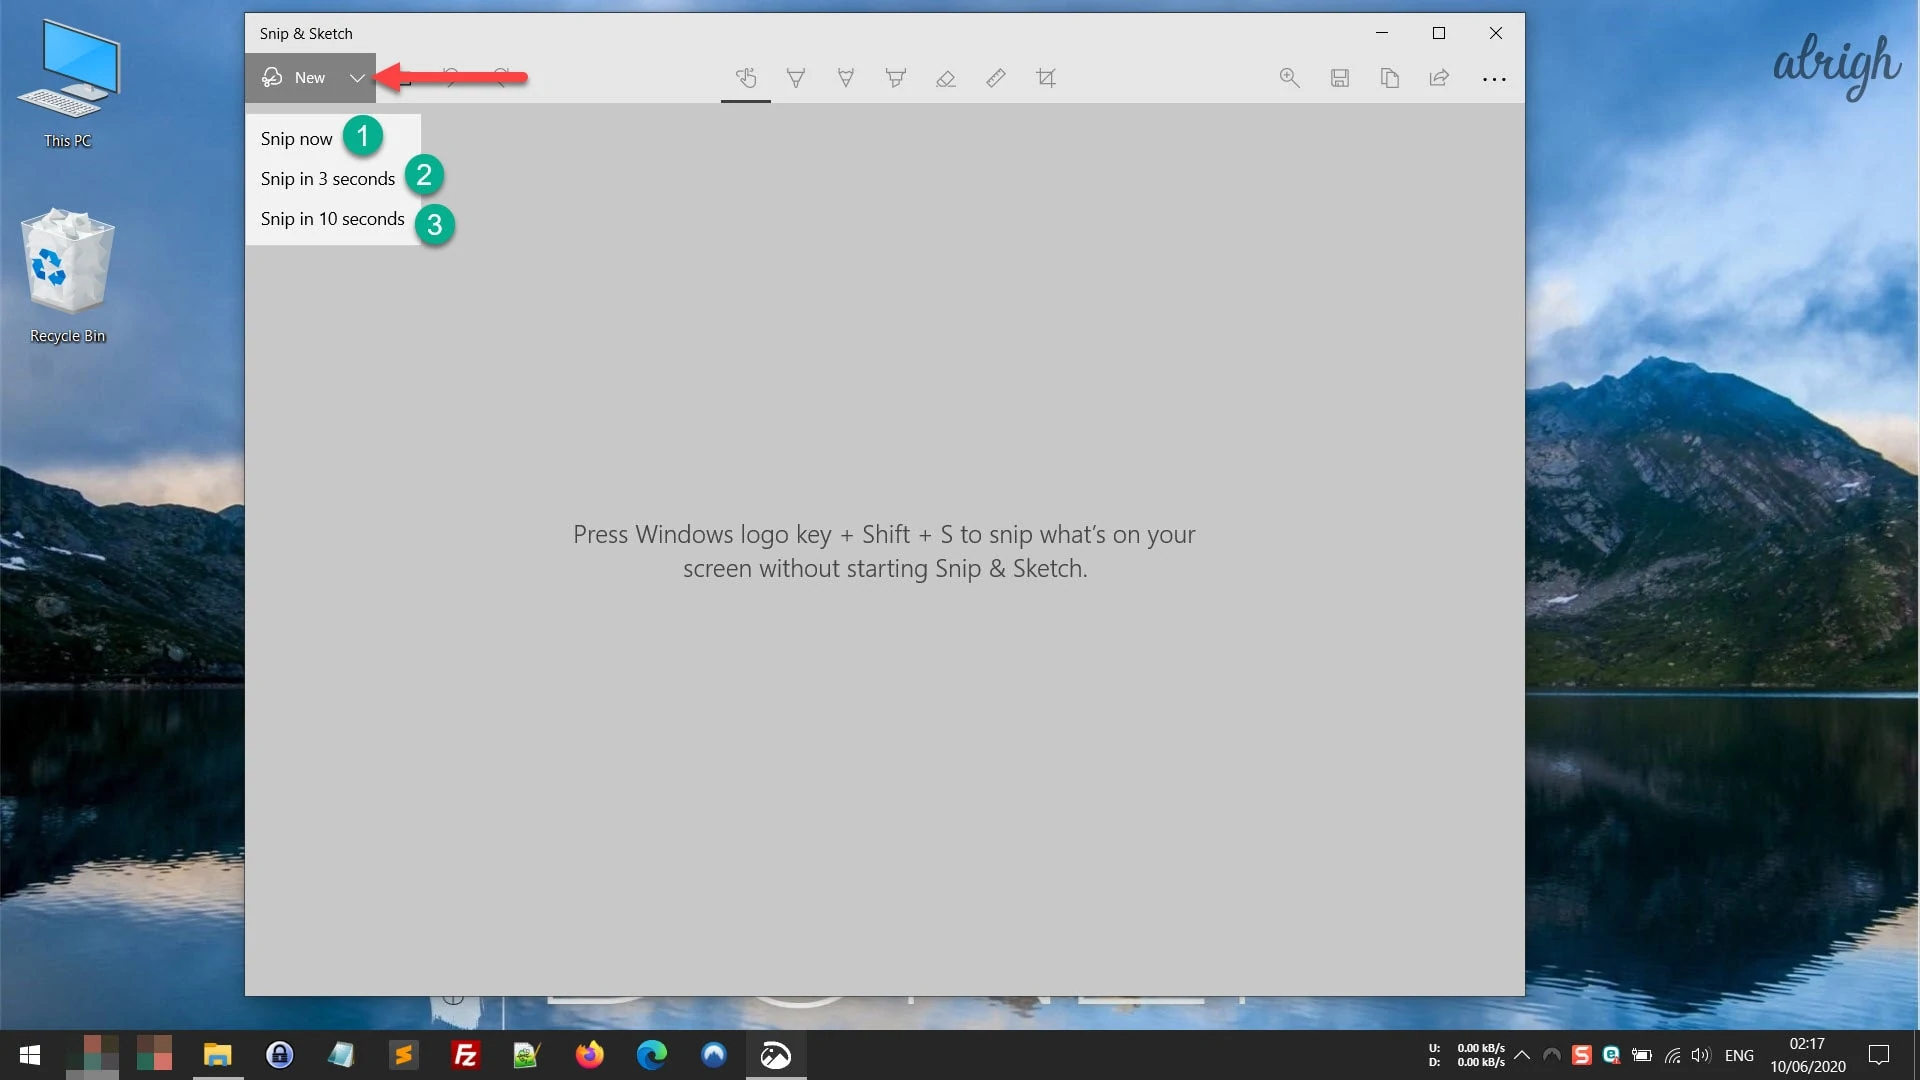
- Next, hit the New button in the top-left corner.
- From snipping bar options, select the type of screenshot you wish to capture. There are 4 options available – Rectangular, Freeform, Window & Full-screen.
- Click on one of those to capture a screenshot.

Enlisted below are some of the most commonly used snipping tools.
Free Snipping Tools
1. Snipping Tool Plus
Snipping Tool Plus is compatible with Windows 7, Windows 8, and Windows 10 operating systems. This tool is powerful yet convenient to use. Additionally, the various built-in editing options that come with Snipping Tool Plus make capturing screenshots easier than ever. With it, you can capture screens with a click, add annotations, and export them in the format you want.
To install Snipping Tool Plus, follow steps as mentioned below:
- Download and install Snipping Tool Plus.
- Once done, open the application. Within the tool, you will find various options to capture screenshots such as full-screen, free section, and right section screenshots.
- Use the save button to save the screenshot directly to your hard disk.
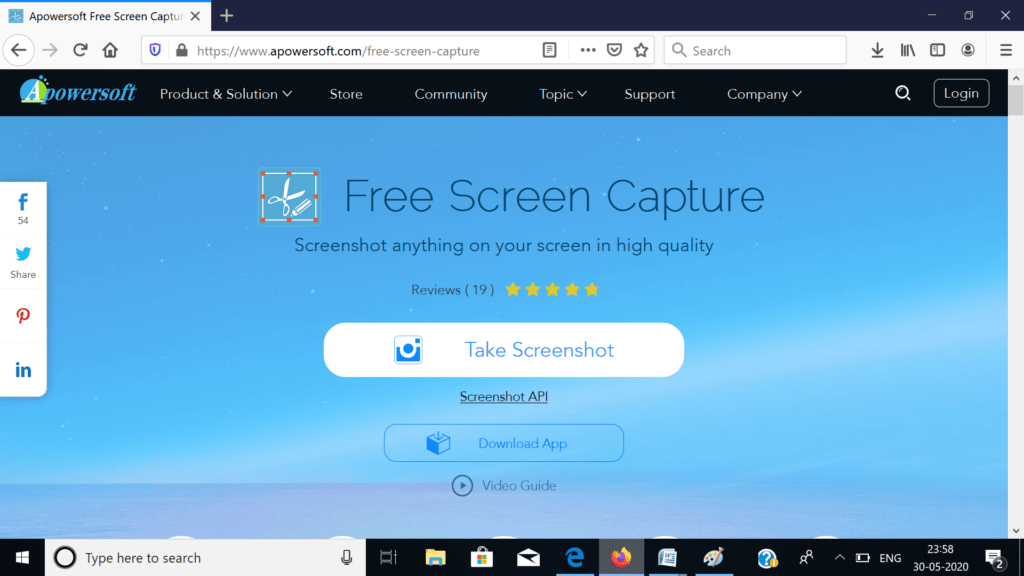
2. Apowersoft Free Screen Capture
Apowersoft Free Screen Capture is another powerful screenshot application. It is free to use and works on both Windows and Mac systems. It is a robust application with access to distinct screenshot features. You can screengrab a complete window, full screen, a menu, or a particular region as per your choice. Besides this, you have access to different annotation options including text, highlighting pen, arrow, etc. What’s more? The application also provides you with free cloud storage and facilitates direct sharing of screenshots to Twitter, Facebook, Screenshot.net & other cloud services.
To take a screenshot using Apowersoft Free Screen Capture, follow the below steps:
- Visit the official website of Apowersoft Free Screen Capture and click on Take Screenshot button to run this application.
- Next, tap on Download Launcher and when completed install it.
- Once the installation is complete, open the application and click on the Take Screenshot button.
- When your mouse cursor appears like a blue crosshair symbol, use it to select the region you intend to capture. To confirm the selection, release the mouse button. Post creation of screenshot, two toolbars will pop up. Using the available options you can add annotations to the image as per your preference.
- Once done, save your screenshot, upload it to cloud or email it as an attachment.
Take Pro screenshots with Snagit
Snagit is the perfect tool for those wanting to capture and edit screenshots professionally. Loaded with essential features, it makes the process hassle-free and quick. It’s user-friendly and allows you to capture screenshots or record a video of your screen and edit those professionally. It has advanced screen capturing functions like panoramic screen capture, taking a screenshot of a scrolling window (supports both horizontal and vertical scrolling), generating an animated GIF from a video, and screen recording.
Snagit is a paid tool but it’s worth every penny.
Here’s how you can get started with Snagit:
- Download and install Snagit.
- Run the application and click on the red Capture button.
- Drag and/or click to select a portion of the screen you wish to snap.
- Your captured image will now open in Snagit Editor.
- Use the toolbar to save, edit, annotate, copy, or resize the clipped image.
Take & Edit Screenshots with Browser Add-ons or Extensions
Browser add-ons or extensions let you capture screenshots of websites or browser-based web apps very easily. They are lightweight and easy-to-use tools that let you take screenshots from within your browser without external tools to capture, edit or save your image. Depending on your web-browser you can choose the right add-on. We have listed some below but feel free to explore the various app marketplaces/stores to find yourself another one if you want.
Here are the best screenshot extensions for some popular browsers:
Awesome Screenshot for Google Chrome
Awesome screenshot is the highest-rated image capturing and annotation extension for chrome with over a million users. It provides essential features such as to add comments, annotations, blur private information, and image sharing to make your life easy. It previously had few in-app purchases but they’ve now made the app completely free to use.
Awesome Screenshot Plus for Mozilla Firefox
Awesome Screenshot Plus is a free add-on for Firefox. Most of its features are similar to those of Awesome Screenshot Chrome extension. From one-click upload to image sharing it ensures Firefox users trouble-free screenshotting and annotating.
Fireshot for Opera
Fireshot is an external extension for Opera that lets you capture screenshots with ease. It enables you to capture screenshots speedily. Like the other two extensions we talked above earlier, it also comes with tons of features to make your life easy.
FAQs about Taking a Screenshot
1. Does this work with HP Chromebook or Elitebook?
Yes. The above methods work with all HP models but we’ve tested them with the below ones:
- HP Chromebook
- HP Spectre x360 15
- HP Spectre Folio
- HP Envy 13
- HP Pavilion
- HP Omen
- HP Envy
- HP EliteBook
- HP Elite Dragonfly
2. My Print Screen key is faulty. Can I still take a screenshot?
Yes, in such cases you can resort to using snipping tools or extensions as mentioned above.
3. Can I take a screenshot of a broken screen?
No, it is not possible to capture a screenshot of a broken screen.
4. Can I draw or annotate my screenshots?
Yes. You can annotate your screenshots using the tools mentioned above. These tools provide you with various options for annotating images. For example, using Snagit you can make your screenshots appear professional using markup tools like callouts, arrows, texts, and other effects.